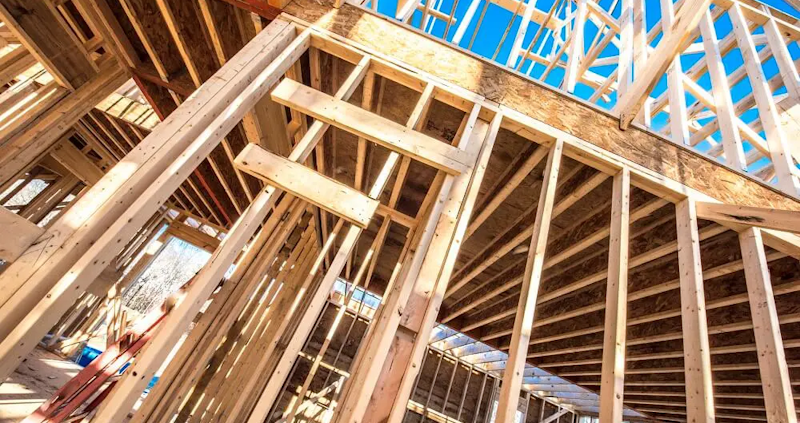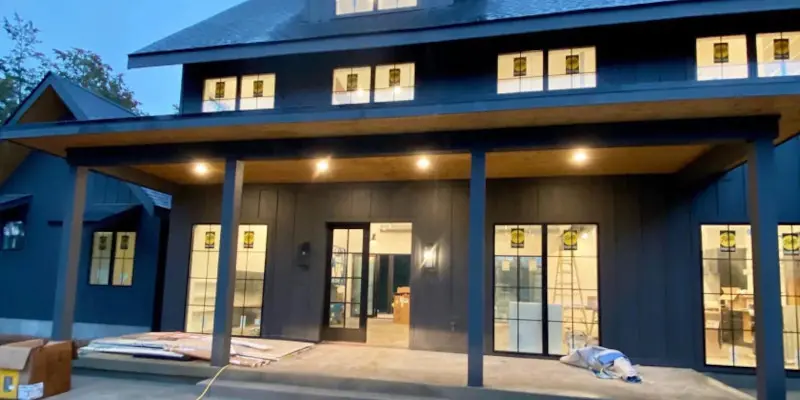
When you start on a home renovation project, it is an exhilarating but tiring thing to do.
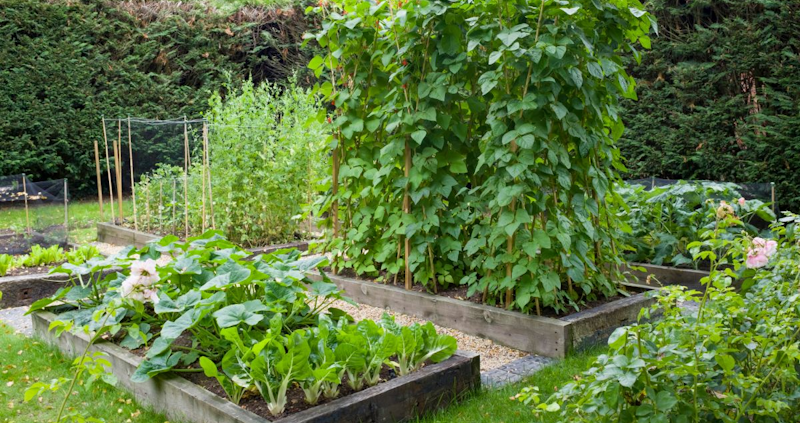
Be it the kitchen remodel, bath refresh, or a whole-house renovation, construction debris and waste management is one of the critical elements in every renovator job. This is where a dumpster rental service comes in handy. There are many real advantages to renting a dumpster for your home improvement project, including efficiency and cleanliness of the workspace.
Convenience and Time-Saving
One of the great benefits that you can get from renting a dumpster as you do home renovation in Murfreesboro or elsewhere in the USA is that it provides simple solution. Renovations produce significant waste, including discarded furniture and appliances, demolition debris (such as drywall, wood, and tile), packing materials and rubish. If you do not get an established area to eliminate this waste, then Odds are you would Want to proceed from the landfill regularly and it is a task any way — Great deal time consuming alternative but not a very practical one either.
Dumpster rentals will pick up the waste on-site, directly from where the work is being done. You just load debris in the dumpster as you go, without having to worry about dragging it away yourself. It saves you time and effort so that you can concentrate more on the work that needs to be done during the renovation. In addition, most dumpster rental services that you hire from give you flexible time periods which means, renting the bin for as long as it takes to complete your project.
Cost-Effective Solution
Most homeowners may be reluctant to hire a dumpster since they believe it will be costly. However, especially when you consider the alternatives, dumpster rental services are typically not as expensive as you might suspect. Dumpsters are designed for easy, one-way trips. You load the dumpster up and then we come to pick it up when you are done. No roundtrip in your gas guzzler or a U-haul, which all adds significantly to costs especially if you’re paying yourself labor for DIY junk removal!
In addition, when you rent a dumpster everything is eliminated properly and also safely. Most municipalities will fine you for illegal dumping like placing debris at the curb or dumping in an unauthorized area, etc. A rental service makes sure everything is done correctly, thus avoiding fines or legal difficulties.
Safety and Cleanliness
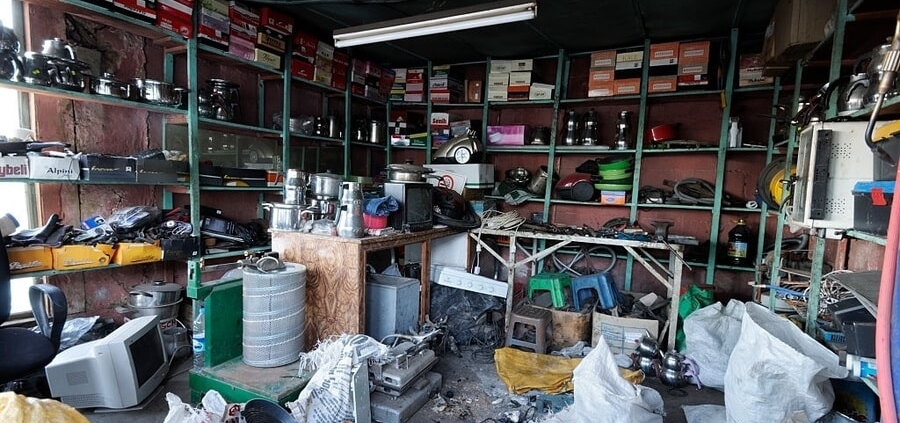
A worksite filled with litter and debris slows progress, but can also be dangerous. Work on home renovations also often uses knives, glass, nails and other potentially dangerous or sharp objects that can injure the workers and even the family. Because a dumpster brings everything to one central hub, it keeps the area clean and limits accidents from having trash on site.
Also, minimizing how much waste is lying about your site by keeping it in the dumpster avoids litter from appearing which could be unsightly for neighbouring properties and may encourage pests. It ensures a more streamlined environment for your worksite, allowing contractors or DIY renovators the room to move freely and complete their project safely.
Environmental Responsibility
The process of disposing of the waste will be a lot easier when you have rented a dumpster. Most of the dumpster rental companies have a tie-up with recycling centers and waste management facilities that ensure eco-friendly disposal and recycling. In place of lugging all deliver to a landfill that will take up years to decompose wood, metallic substances glass and various forms of these adjustments can be diverted at recycling facilities.
There are also services that provide dumpsters specifically for concrete, wood, and metal — so you can recycle better and decrease your project’s carbon footprint. This is important for those who are mindful of their environmental footprint and want to ensure that as much of their renovation traffic is recycled or reused, where feasible.
Adaptability for Various Project Scales
In addition, dumpster rental services provide a number of containers for hire; the containers come in different sizes such as 10-yard dumpsters which are quite small and 40- yard dumpsters which are very big providing you with large area to choose the dumpster that best meets your needs. For smaller renovations like a bathroom remodel or kitchen upgrade, you may be able to get away with a small dumpster repair. If you are working on something bigger, such as a home renovation or roofing project, get a larger dumpster in which to dispose of the increasing waste.
This makes it easy to select the right size for your renovation so you are paying only for what you need while negating the hassle of having a container that is too small or needing a second dumpster. There are also some services out there that offer what are known as switch-outs—where a full dumpster is exchanged for an empty one, allowing the project to keep on moving forward without missing a beat.
A Practical Solution
The Pros of Renting a Dumpster During Home Renovation Projects This is time saving, cost efficient, safe and helps create a clean organized work site. Plus, it offers a simple eco friendly solution for the decommissioning of rubbish, thus making your renovation process more manageable and effortless. No matter if you’re taking on a home renovation or simply working through a small DIY project, a dumpster rental service will help keep the waste management processes efficient so that you can get back to what matters most, making your house the place you want it to be.